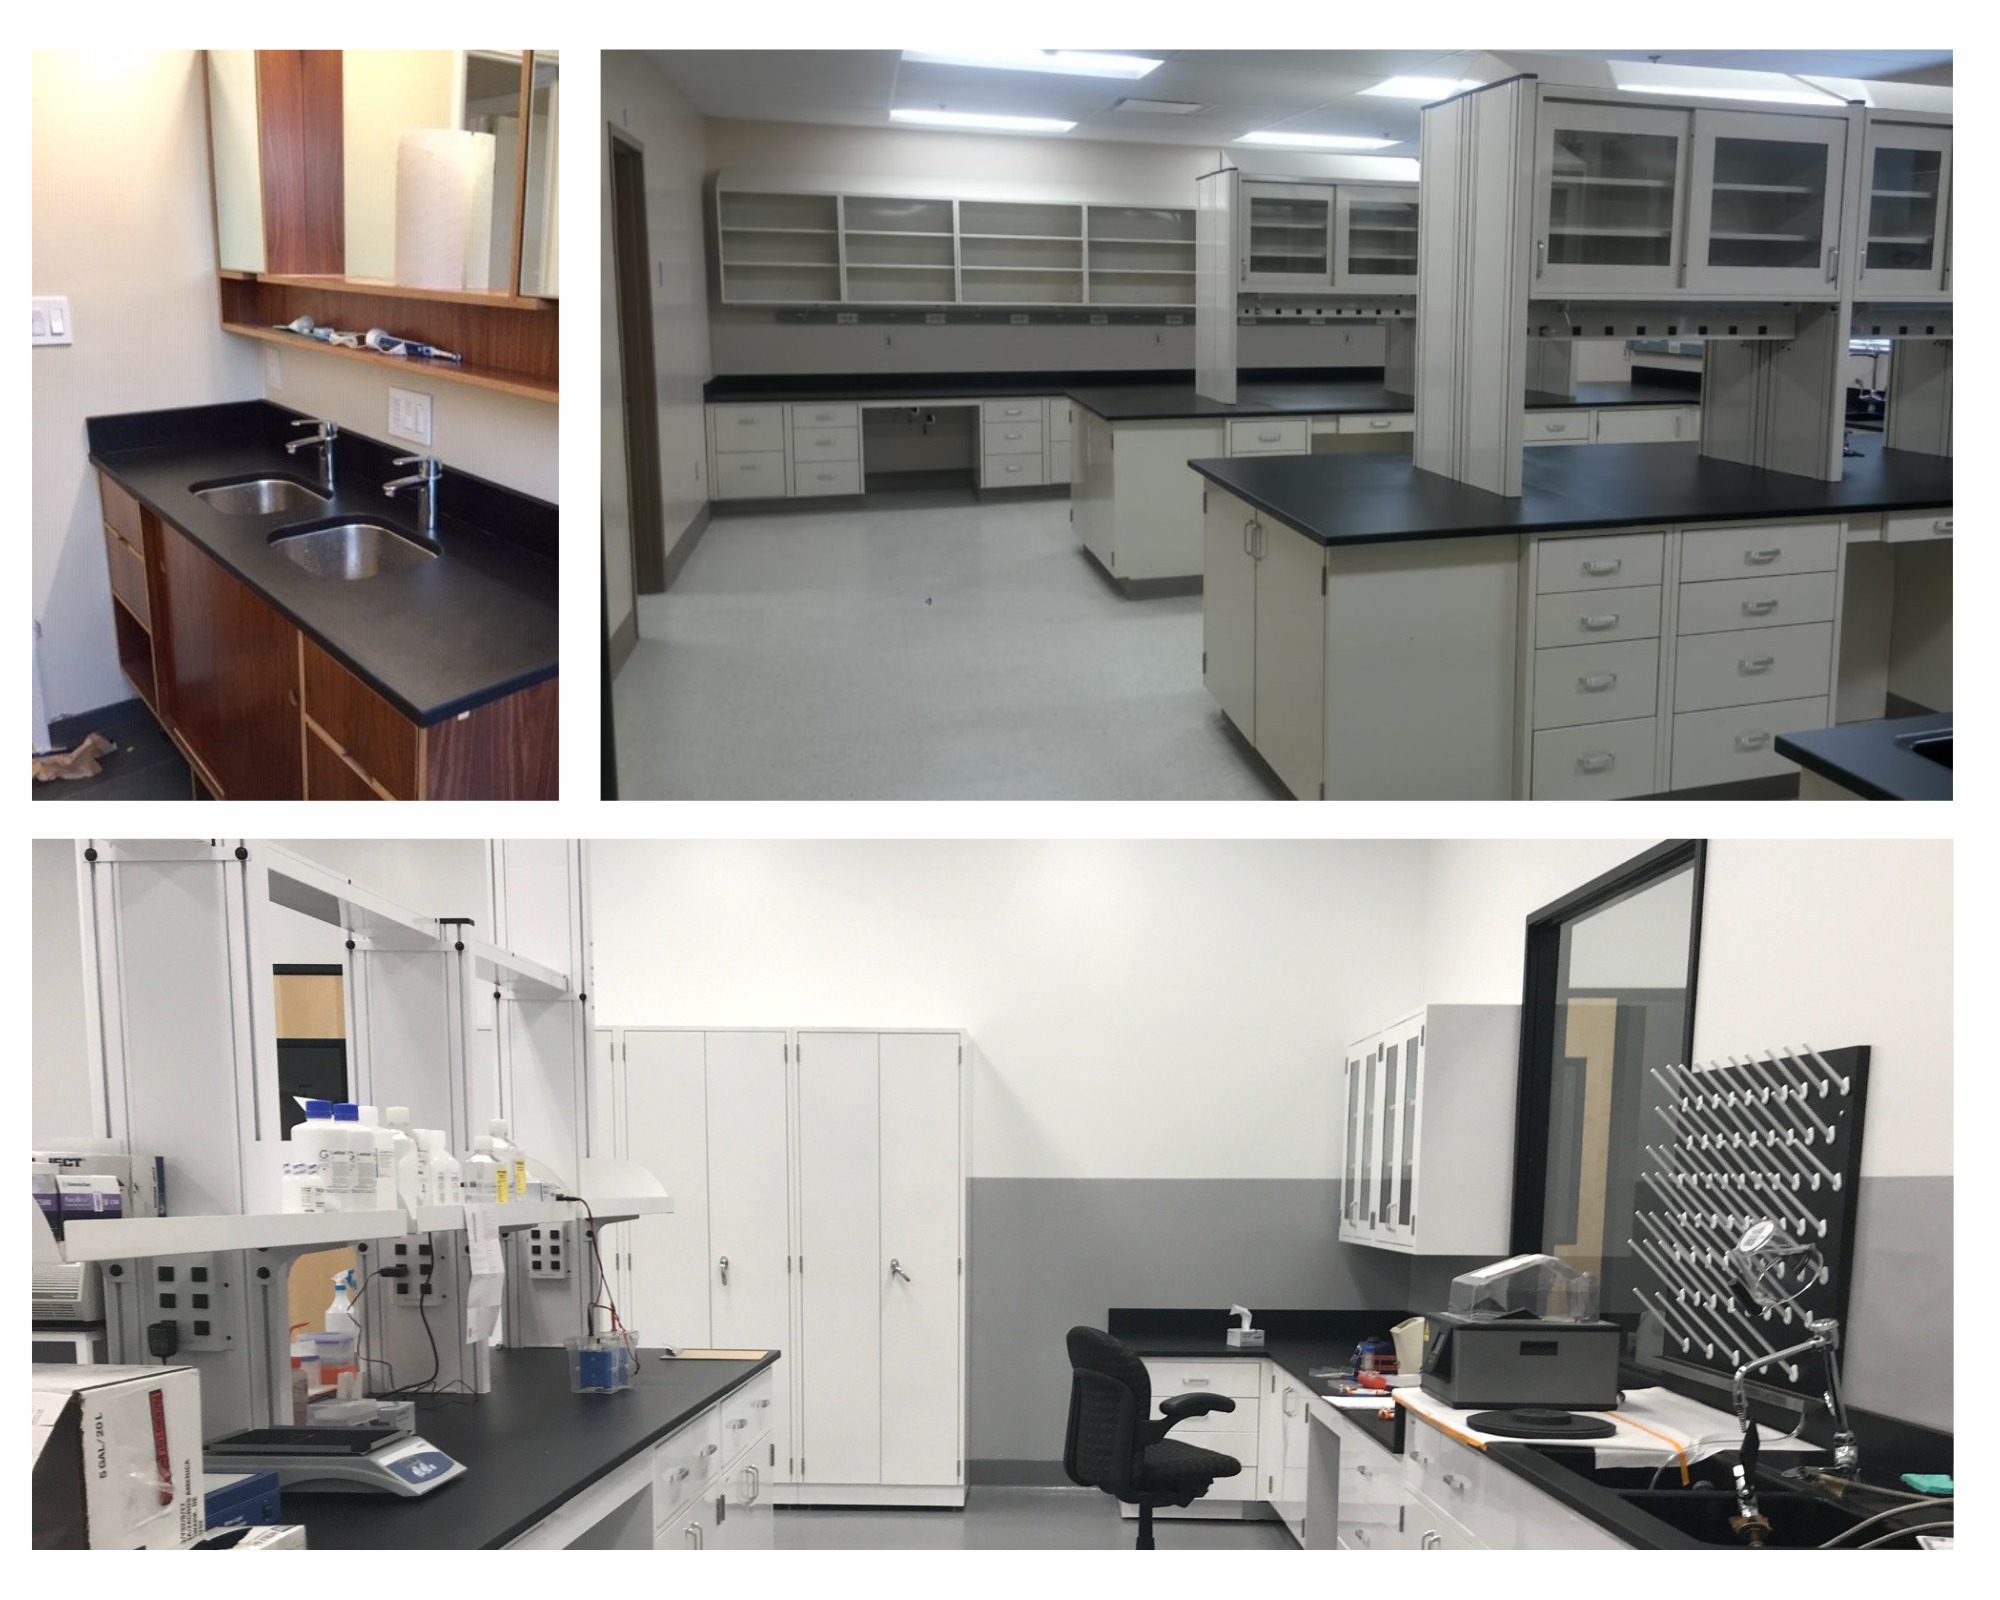
A quality lab design is built around a solid foundation. Epoxy resin pegboards are essential to any quality lab design. An epoxy resin pegboard is highly durable and built to last.
Pegboards are the most visible manifestation of the power tool culture in America. They are also a great way to organize your laboratory tools and keep them easily accessible.
A pegboard has thousands of uses that go far beyond simple storage. It’s a jumble of compartments, a jigsaw puzzle for all your fixing needs.
What are Epoxy Resin Pegboards?
A pegboard is an essential part of any quality lab design. In particular, an epoxy resin pegboard is crucial when handling heavy lab glassware such as flasks, beakers, and pH meters.
An epoxy resin pegboard also helps organize lab racks. While many other types of plastic pegs can damage your expensive lab equipment, the strong fibers in epoxy resin excel at holding heavyweights securely in place.
Tempered for extra rigidity, a pegboard is pre-drilled for mounting tools and ready to be mounted to a concrete wall.
They come in a variety of sizes, depths, and gauges. A pegboard can be placed on almost any vertical surface like garage walls, basement, hardware store, or closet.
Buying Materials for Pegboard Installation
Be sure to measure the area before you go to the hardware store. You should also make sure that the pegboard will be big enough for all of your equipment and that it will not take up too much wall space in the room.
When purchasing at home improvement stores, make sure to buy;
- Hooks
- Large pegboard planks
- Furring strips
- Pegboard hangers
- Paint
- Screws
- Hangers
How to Install Pegboard
No matter where you install it, you’ll find that an epoxy resin pegboard is an inexpensive way to organize tools by hanging them, boosting your productivity.
And with simple tools like permanent markers, you can quickly create custom labels and artwork to make your pegboard even more helpful.
Take this opportunity to get organized with these tips and instructions!
Cut the Pegboard Panel
If you are not installing a full sheet of epoxy resin pegboard, measure your space and cut it to the appropriate size. Cutting a pegboard panel with a circular saw can produce tear-out on the higher-grade face or jam your saw blade in the holes.
To prevent this, orient the pegboard panel face-up and ensure it is flat on the work surface. If you are using a jigsaw, use only one blade for each side of the board and keep the good side down when cutting.
Cutting with a table saw makes precise cuts easy and helps to ensure a perfect fit.
Cut the Furring Strips
The furring strips are used as a guide to cut the pegs and holes for the hanging system. Using a circular saw, cut two pieces of 1×2 furring strips to make a frame attached to the backside of the pegboard panel.
The outside edges of the furring strips should be flush with the edges of the pegboard. Then, cut another frame to go between those two to fill in between them.
Cut another couple for fillers if needed. All these need to be at least 36 inches long, you can use a jig or hand saw.
Attach the Strips
The furring strips may be attached with drywall screws or double-sided adhesive to the back of the panel to create a lip that will hold the furring strips in place.
Screw-in standoffs through both the face of the panel and into the pre-drilled holes in furring strips using a standard screwdriver. Do not drive screws through the pre-drilled pegboard holes.
Also, use intermediate furring strips to fill in between the top and bottom to prevent gaps if you are attaching them with double-sided adhesive only.
Make the Frame
Make a frame from a picture frame and molding that surrounds the pegboard. Then encase it in furring strips so that the edges are concealed and the surface can be easily cleaned.
If you don’t have picture frame molding with the correct dimensions, mill your frame by cutting a rabbet into one face of 1×2 stock, creating two identical pieces.
Use one for each side of the frame, and attach them with veneer adhesive or lightweight spackling material and 1-3″ wood screws. Make sure to allow for overhangs when cutting your molding.
Paint the Pegboard
Painting pegboards is an inexpensive way to add a coat of protection to the composite material of your pegboard.
Exterior paint hardens the hole openings to minimize elongation over time.
- First, clean the board using warm soapy water.
- Second, allow the board to dry completely.
- Third, use a roller covered with short-nap spray adhesive to coat each hole with paint.
- Then, let dry completely.
- Now remove the excess adhesive with a rag using small strokes going in one direction only.
Locate and Mark the Wall Studs
Locate and mark the exposed studs located above and below the pegboard location so you can see them once it is positioned on the wall. You will probably need a level to make sure the wall is level.
Pro Tip: Mark on both sides of the stud, so you know which side is up when screwing in the screws. Mark on both sides because some walls are sloppier than others, and the studs could be on a slightly different height along one side.
Preparing for Hanging the Pegboard
Prepare the surface where you want to install the pegboard. After you have located an appropriate place for the frame, drill pilot holes, one 21⁄2″ screw partway into the top frame at the centre of the pegboard.
Then adjust the level by using the screw as a pivot point. The goal is to have both frames level with each other.
Hanging the Pegboard
Drill holes in the top and bottom frame rails at each wall stud location. Drive drywall screws into the studs through the hangers and into the concrete wall.
Double-check for level and adjust as needed until your pegboard is perfectly aligned with each stud. Attach as many hangers as desired until your items are fully supported without the pegboard sagging or tipping over.
You can attach single hooks, double hooks, and even triple hooks if desired to the hanged pegboard.
Using the Pegboard
Maximize the function and organization of your garage wall with a pegboard kit. A pegboard organizer kit comes with the hardware needed to hang the organizers and instructions on how to install them. This is ideal for workbenches with pegboard.
Try different sizes until you find the one that best fits your space and needs. A standard pegboard has holes 1/4″ or 6mm apart—this is the interval of the tool hangers.
Use a smaller pegboard to get more closely spaced holes or a larger one for more space between them.
Regardless of the size, align all hangers with equal distance between them from left to right.
Pegboard Specs
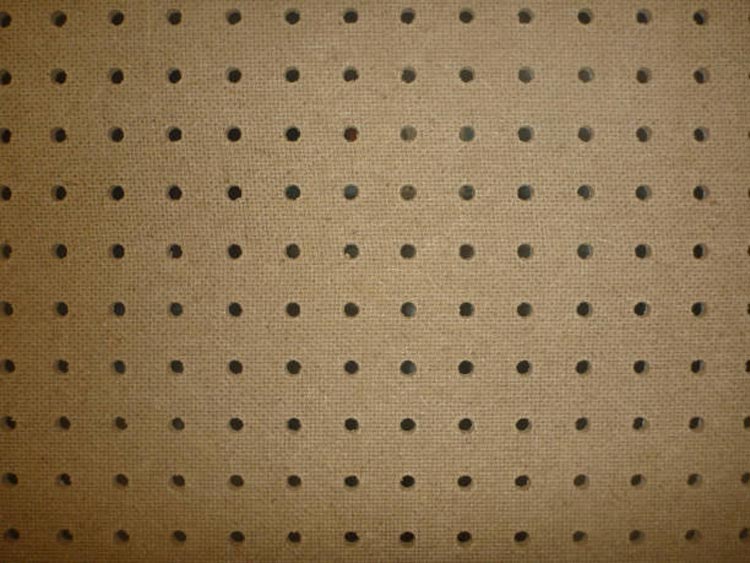
Normal pegboard has holes that are 1-inch apart, but both small and large hole pegboards are available.
- A small hole pegboard is the cheapest way to get started with the installation. It is made of 1/8-inches thick hardboard, with 3/16-inches in diameter holes that accommodate only the smaller 1/8-inches pegs.
These holes can be used for hanging lightweight objects. However, for heavier tools, you’ll want to go with a thicker pegboard board that will hang bigger items like tool hooks and belts.
- Larger than the standard small hole pegboard, these boards are perfect for a wall in a workshop and garage to hang heavy tools. This particular board has 1/4-inches holes spaced 1 inch apart.
The board itself is a 1/4-inches thick hardboard with 1/4 inches holes that will accept 1/8 inches and 1/4 inches hooks. It also has an additional coating on the backside to prevent wear and tear.
Choose the Best Pegboards for Your Needs
Epoxy resin pegboards are ideal for any lab and work surface where heavy duty uses are made.
They are highly durable and built to last, perfect for handling lab glassware. As a result, we recommend the purchase of custom epoxy resin pegboards when implementing a quality lab design.
To learn more about epoxy resin pegboards, contact us at resintops.net today.


